

How To Install Chat Bot On Website Via Tag Manager
Overview :
Hey everyone, welcome to this exciting episode of BotPanels, Today we are going to talk about how to install chatbot on the website via a tag manager.
Tag Manager: You need to go to your Google tag manager account that you can access via tag manager dot Google dot com. If you do not have the tag manager account, then you create your tag manager account first.
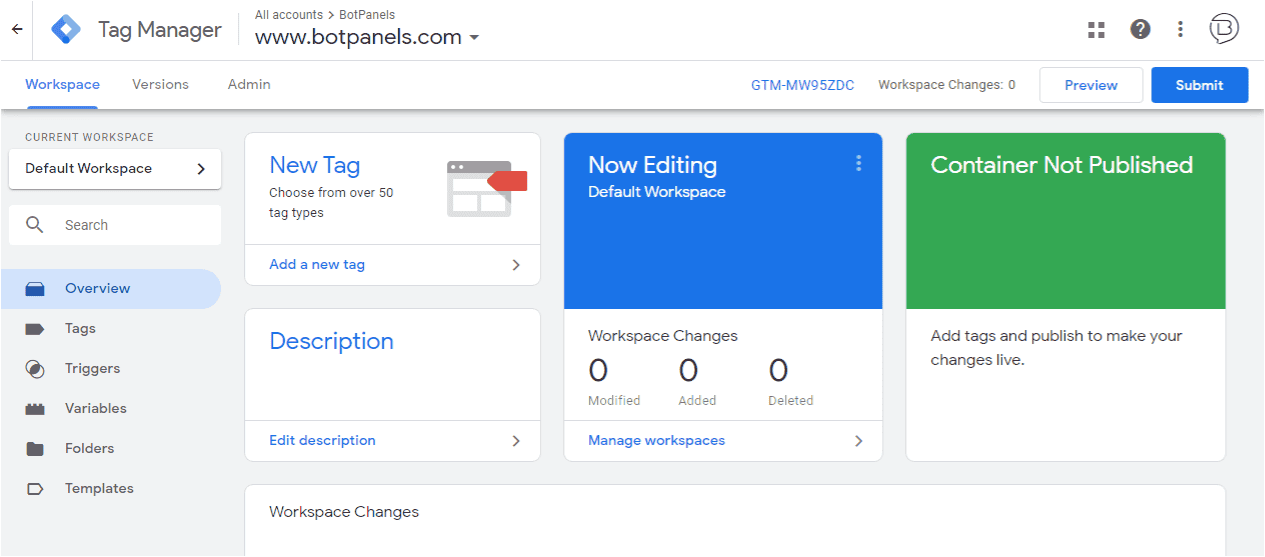
Once you login to your tag manager account, you will land up on your workspace page. There are so many different options given here. Just beneath the overview, you will get an option Tags, click on it.
Create & Name Tag: Then click on new to create a new tag. We must also give a name to our tag for further usage to identify it.
Custom HTML Tag: Now we will configure this tag to let Google know what type of tag this is. We will call it the Custom HTML tag. Just scroll down and you will get the custom HTML tag option here. Click on it and paste the code that we get from a mobile monkey.
Triggering: You will find one another option here on this page called Triggering. It is used to tell Google tag manager when to fire this tag.
For example, if you want to have a chat widget on all pages of the website then use the default all pages trigger. So let’s click on the trigger and then click all pages option given on this page.
It is a default option that comes with Google tag manager. Don’t forget to save this tag. Once we save this tag, it’s going to trigger on all pages of the website.
If you do not want to trigger the chat widget on all pages and just want to show it on any specific page like pricing. You can do it very easily via Google tag manager.
We could remove this trigger of all pages and add a new trigger. Click on this plus symbol and name your trigger as you did previously.
Now configure the trigger and select the page view option shown on the trigger type window. Then on this page view page, select some page view option. Just make it sure that you choose the page path here, equal, and your page path here where you want to show the widget.
Don’t forget to save it, now you are done. You will see your saved trigger here.
Publish: One important thing to remember here is, you just saved and click submit here to get it published. Just click on publish; you may skip naming the container.
This is how you can install a chat widget via Google tag manager.
If you want to delete the tag, you need to go to tag manager and click on that particular tag and you will see the option of delete under three dots icon here.
Google tag manager is very easy to use, and it gives you flexibility with varied options.
We will discuss some other interesting features of ChatBots in subsequent episodes of BotPanels. This episode on installing chatbots via tag manager completes here.
You can subscribe to BotPanels to get access to interesting learning videos and free tutorials.

Feature
Feature
 Master AI tools like ChatGPT, Canva, Grammarly, vidIQ & tubebuddy.